|
ToolBox v2.00 Copyright ⌐1998-2003 CyLog Software |
| Introduction | |||
| Quick Guide | |||
| How To Control Panel ToolBox Properties Icon Properties Administration Tasks Troubleshooting |
|||
| Registration | |||
| License Agreement | |||
| Contact Us | |||
How to use ToolBox - Toolbox Properties

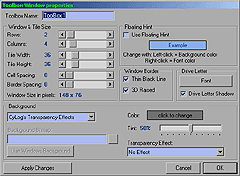
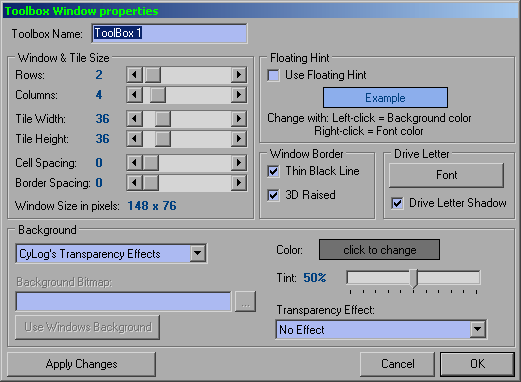
Use this dialog to set up how your ToolBox will look like (each ToolBox has different view properties). You can control the size of the icon tiles or the whole window, graphics effects, floating hints and other options. The paragraphs below explain each different panel group.
ToolBox Name (Screenshot)
You can name your ToolBoxes in order to distinguish them in the Control Panel's list. Give meaningful names,
for example 'Drives & Folders','Applications', 'Games' exactly as you would categorize shortcuts in
the Start menu. You cannot leave this field empty.
Window & Tile Size (Screenshot)

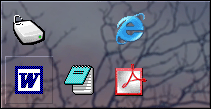
Use Tile Width & Height to set the size of each icon tile. Valid values are 32 to 56 pixels.
Finally, Cell Spacing is the distance between the tiles (both horizontal and vertical) and
Border Spacing is the distance from the border of the window to the outside rows and columns of the
grid. The picture on the right shows a ToolBox with 48x48 pixel tiles and a 3-pixel cell spacing and border
spacing.
Floating Hint (Screenshot)
This area controls whether a floating hint will be visible when you move your mouse pointer over icons.
This is something that might prove useful in the beginning, but will eventually become obsolete as you
learn to recognize the application icons. The string displayed is the 'Description' of each icon, which
you can change using the Icon Properties screen.
To change the color of the floating hint, click on the Example image. Left-click chooses the Background
color, right-click chooses the Font color.
Window Border (Screenshot)

Drive Letter (Screenshot)
When an icon represents a Drive the drive letter is displayed at the top-left hand side of the icon. The
controls in this group, determine how this letter will be displayed. You can choose font name, size,
color and whether a shadow will appear to give the drive letter a 3D look.
Background (Screenshot)
This group controls one of the most amazing features of ToolBox. Background effects. ToolBox does not
use the so-called Windows 2000 transparency that works only in Windows 2000 and XP. ToolBox uses a
transparency trick that takes the image below the window, applies some image processing filter effects
to it and then draws the icons on top of the manipulated picture. This creates amazing effects.

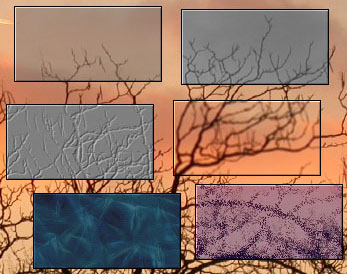
If however your system is good enough and you want some cool effects like the toolboxes shown in the picture
on the left, then you can choose the CyLog's Transparency Effects. The transparency effects work
simply like this:
First they apply an image processing filter (Transparency Effet) and then optionally apply a color tint to it.
The Color Tint is a standard "stained glass" filter, which gives a color hint to the background of your window. You can control the Color and the opacity of the effect. 100% means that the background will be exactly the color you chose (not very useful - choose a Simple Color instead), 0% means no color Tint at all.
Finally the Transparency Effect is one of:
- No Effect. The fastest to create, simply copies the pixels underneath your ToolBox. Useful to try with no borders and no color-tint.
- Black & White Monochrome.
- Emboss
- Blur
- Displace
It is obviously best to experiment with these effects and choose something that you firstly like and
secondly works out well with your system without producing annoying redrawing delays. Although ToolBox
has been programmed with great efficiency, we cannot claim that the Transparency Effects run very
quickly on older systems (Pentium II's, or Windows Me for example).
In fact, we should note here that ToolBox supports only Windows NT, Windows 2000 and Windows XP
systems. It has not been tested on other operating systems, although if you give it a try it won't be
surprising if it runs.
Use the Apply Changes button to see the effects of your changes immediately. Use the OK button to accept the changes and close the ToolBox Properties windows or Cancel to abort the changes. (Note that once you apply the changes they cannot be 'Cancelled'.
