|
So, you want to make a Web Page! |
|
|
So, you want to make a Web Page! |
Let's learn about links.
It's really very simple. We'll make a link to Yahoo.
Start with this...
<BODY BGCOLOR="#FFFFFF">
Go to Yahoo!
</BODY>
 Go to Yahoo!
|
Then add a pair of anchor tags.
<BODY BGCOLOR="#FFFFFF">
Go to <A>Yahoo!</A>
</BODY>
|
Go to Yahoo!
|
Add the URL and you're done! URL Stands for Universal Resource Locator. That's a big fancy phrase that the computer people came up with. They tend to do that alot. A URL is just an address.
<BODY BGCOLOR="#FFFFFF">
Go to <A HREF="http://www.yahoo.com/">Yahoo!</A>
</BODY>
|
Go to Yahoo!
|
Let's do one more.
<BODY BGCOLOR="#FFFFFF">
Go to Netscape!
</BODY>
|
Go to Netscape!
|
<BODY BGCOLOR="#FFFFFF">
Go to <A HREF="http://home.netscape.com/">Netscape!</A>
</BODY>
|
Go to Netscape!
|
An email link works the same way. We just use an email address instead of a page address.
<BODY BGCOLOR="#FFFFFF">
Send me <A HREF="mailto:forrest@bubbagump.com">Mail!</A>
</BODY>
|
Send me Mail!
|
|
|
We can make an image a link if we want. Using the 'Go to Netscape!' example above we simply substitute an <IMG> tag for the word Netscape!
<BODY BGCOLOR="#FFFFFF">
Go to <A HREF="http://home.netscape.com/"><IMG SRC="chef.gif" WIDTH=130 HEIGHT=101></A>
</BODY>
Go to 
|
|
<BODY BGCOLOR="#FFFFFF">
Go to <A HREF="http://home.netscape.com/"><IMG SRC="chef.gif" WIDTH=130 HEIGHT=101 BORDER=0></A>
</BODY>
|
Go to
|
One more note about links... It is perfectly acceptable to link to someones page(s) without asking. Links are what makes the Web the Web.
Now that you've learned how to make links, I'm going to tell you about one of my pet peeves. I hate searching for information on widgets and all I get are pages with 14 dozen LINKS to widget sites and nothing else. I follow some of those links and I get MORE LINKS to more widget link sites... but no friggin widgets!
If you're making a page, of course include links if you think it adds value, but try to refrain from having a page that consists of nothing more than linkz and linkz and even more linkz.
When you include images on your page, remember that they contain alot of data and therefore can be slow to load. One way to reduce the size (by size I mean Kb) is to reduce the dimensions. Cutting the length and width in half results in an image only 1/4 the size in Kb. Also you can reduce the number of colors. For example:
 |
|
|
Dimensions 310 x 304 # of colors- 238 Size - 69 Kb
|
|
 |
 |
|
Dimensions 207 x 203 # of colors- 238 Size- 34 Kb |
Dimensions 207 x 203 # of colors- 48 Size - 19 Kb |
All image editing was done with Paint Shop Pro.
Just to see how much images can be reduced, try the GIF Optimizer below. You send it your image, and it comes back progressively more "optimized". Note that the GIF Optimizer is not actually a part of this tutorial. It is a program that resides on another computer. This is just an interface and you must be online to use it.
|
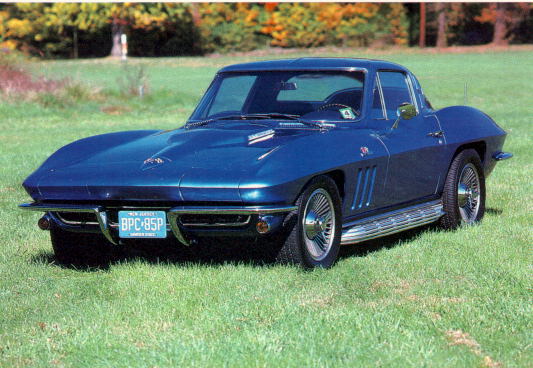
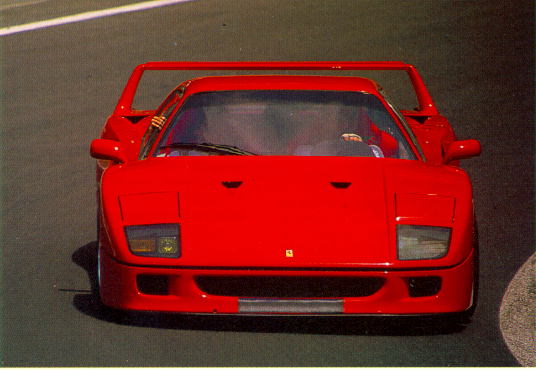
Another option that can be used if you want to offer alot of imagery is to provide thumbnails that link to larger versions of the image. Let's suppose that I want to offer three very nice pictures of let's say a few of my cars (I wish).
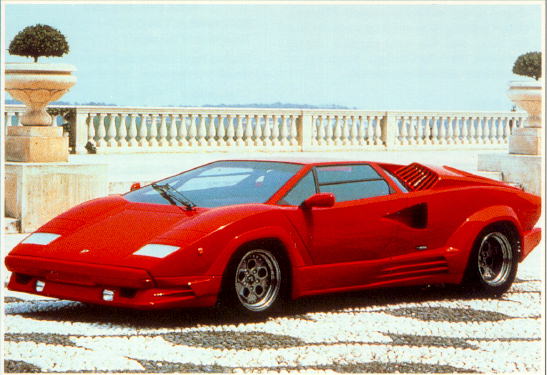
The first thing you need to do is fire up your image editor and make smaller versions of your images. It would also help to reduce the color depth. This bit about making a smaller version is very important. I have seen many instances of someone trying to make a thumbnail by simply reducing its dimensions in the <IMG> tag. All this does is cram the full image into a smaller space. What you need to do is create a smaller copy of the image and use that as a link to the big image.
Let's do one. I think we'll use the Corvette (that's the blue one if there's anyone out there that for some silly reason doesn't know). Put the full sized image and the small image in your working folder. Once again, Netscape users right-click & Save Image As.
Start with your <IMG> tag.
<BODY BGCOLOR="#FFFFFF">
<IMG SRC="car1-sm.gif" WIDTH=90 HEIGHT=62>
</BODY>

|
Add your <A> tags.
<BODY BGCOLOR="#FFFFFF">
<A><IMG SRC="car1-sm.gif" WIDTH=90 HEIGHT=90></A>
</BODY>
|
|
And add the URL and bingo, you're done!
<BODY BGCOLOR="#FFFFFF">
<A HREF="car1.jpg"><IMG SRC="car1-sm.gif" WIDTH=90 HEIGHT=62></A>
</BODY>
|
|
You can, if you want, get rid of the blue border. Although, you may wish to keep it so that your viewers know that it is a link. It's up to you.
<BODY BGCOLOR="#FFFFFF">
<A HREF="car1.jpg"><IMG SRC="car1-sm.gif" WIDTH=90 HEIGHT=62 BORDER=0></A>
</BODY>
|
|
|
Another way to link is to link not just to a page, but to a specific part of a page. Click here to be magically transported to where we first talked about URLs. Since it would be kind of hard to have you build an example, I'll just do the best I can to explain how it's done.
First start with the spot you want people to be transported to. Pick a word and wrap it in the <A> tags.
<A>Add</A> the URL and you're done!
Next give that spot a NAME.
<A NAME="upabit">Add</A> the URL and you're done!
What you have done is marked that spot. Now it can be referenced.
Now start building the link.
Click <A>here</A> to be magically transported...
Add the document to be referenced...
Click <A HREF="lesson04.html">here</A> to be magically transported...
And lastly, add the anchor NAME like so...
Click <A HREF="lesson04.html#upabit">here</A> to be magically transported...
And that's all there is to it! Not exactly brain surgery is it??
| ||||||||