EXAMPLE 3 - FINISHING THE PLANS :-

ADDING ROOMS

1/ As well as using design rooms in the 'layout design rooms' method using the layout design rooms option you can use them here, INSIDE an existing floor plan ( they will auto align with the external walls and other walls, rooms, etc.,
2/ use fixed rooms complete with text and measurements
3/ draw internal walls for cupboards and room alterations etc., (the input box gives you the distance to the nearest wall. internal walls
Also you can expand or shrink the floor plan base if you need to - click expand/shrink floor plan base

1/ DESIGN ROOMS
select design room / new design room or the new design room icon-
click moving and altering design rooms for more detail
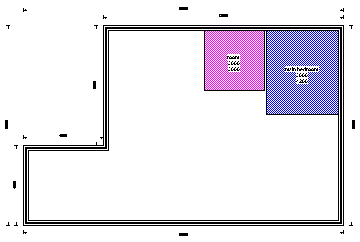
When you have your design rooms positioned, change them into fixed rooms by selecting design rooms / finish. design rooms in base

Design rooms changed into fixed rooms and locked in position
2/ NEW FIXED ROOM
One way of drawing an 'L' shaped room
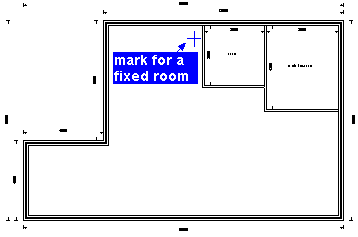
select the new room ( fixed ) icon, move the cursor into the corner area where you want the room to draw from and click the left mouse button
finish design rooms


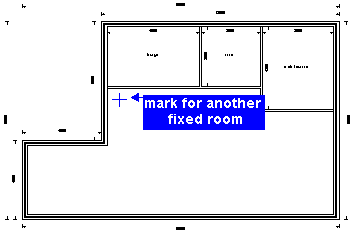
and the rooms dialogue box will appear with two numbers showing the maximum amount of space left for the room in both directions. Change the vertical dimension to 10 ft or 3000 m.m select ' show no dimensions' and press enter. Now draw another room directly below the last one, but not as wide horizontally positioning fixed rooms

for more details on using fixed rooms click new fixed rooms

CUT AN OPENING IN A WALL
select the doors and wall openings icon
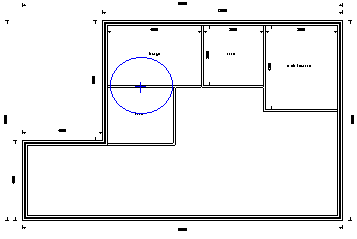
input a size less than the width of the last room drawn, and select 'wall opening' and press enter, Place the circular cursor ( that is the opening size you nominated ) over the wall and press enter
draw 'L' shaped  room

if you want to add any dimensions to the 'L' shaped room use OTHER / MANUAL DIMENSIONS click using manual dimensions 'L' shaped room

3/ DRAWING INTERNAL WALLS
internal walls can be used for drawing rooms but also are used to altering rectangular rooms created by the above room functions, to draw cupboards and wardrobes. click on drawing internal walls for full information, as here we are only showing one of ways they are drawn.
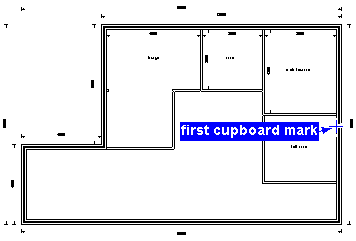
To put a wardrobe and cupboard in the example, first add a fixed room called 'bath room' below the main bedroom, then select the internal wall icon,
in the dialogue box select 'below' for the second line, move the cursor onto the inner line of the external wall, 2 ft or 600 m.m below the main bedroom wall, { you can use the datum icon from the bottom wall of the main bedroom to measure off - for more details click using a datum mark ) use the arrow keys to fine tune the position, and press enter. Now press the left arrow key, the programme senses the distance to the nearest wall in that direction, and shows it in the input box so just press enter
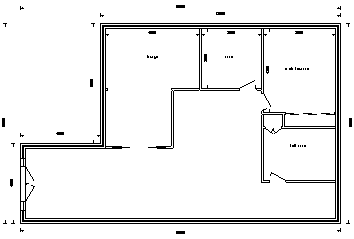
Draw another internal wall to divide the space created ( it may help to look at the drawing below with the cupboard and wardrobe finished ), select the internal wall icon again, choose 'left' for the second line, move the cursor along the top line of the wall you have just drawn until it is 3 ft or 1000 m.m from the left side, press enter, press the up arrow key and accept the input box figure. starting a cupboard


ADDING DOORS and WINDOWS

HINT
To place doors and windows centrally in a wall or room, after selecting your door or window, click on the centre icon ( it works inside other functions - as does the datum measuring function ) click using the centre function

using the doors and wall openings icon
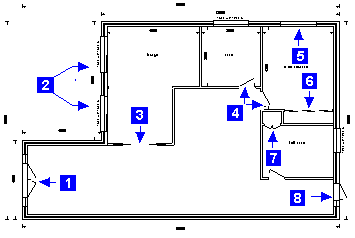
1 shows an entry frame and the doors open inwards if you press enter with the cursor nearer the inside wall line, or outward if nearer the outer wall line, always watch the guide line at the bottom of the screen.
3 shows a pair of sliding doors with the 'slide into wall' option checked
4 shows single hanging doors
6 these are wardrobe sliding doors
7 double hanging doors used for the cupboard
8 using an entry frame with door opening outward ( cursor nearer outside line when enter pressed
various doors and windows
using the windows icon
2 windows showing cills and sizes
5 window drawn without the cill and size options


ADDING FROM THE LIBRARIES
From Libraries on the menu bar select Plumbing, and highlight an item by clicking on it once - the selection will now appear in the bottom left corner of the drawing screen - now highlight the standard bath press enter to accept it, move the cursor on to the bath and click on some point of reference ( a corner , the waste etc.,,) with the left button - move the cursor into the bathroom and click again with the left button, and the bath will appear there - now rotate the bath by clicking the right button, input 90 and close the input box, now position the bath how you want it using the arrow keys to position EXACTLY where you want it and press enter to lock the bath in position ( otherwise it will keep following your mouse cursor clicks ! )
when finally positioned press enter so the bath is locked into position library in use


HINT
For more accuracy in positioning you can use zoom / fit on screen or zoom / zoom up
(to use zoom / zoom up just drag a rectangle by keeping the left button down, diagonally over the area to magnify - later use zoom / normal or zoom / fit on screen to return) .

NOTE
We supply very basic libraries in both metric and feet/inches ,click libraries

You use the mouse to shift doors, windows, baths etc., roughly into position, then use the arrow keys to fine tune the cursor position and finally (because it gives more accurate positioning than a mouse click ) use the enter key to accurately lock the item in place

Now browse through the functions available as we have only covered a few in this very
basic example - click functions