|
press enter then input distance to shrink the base |
 |
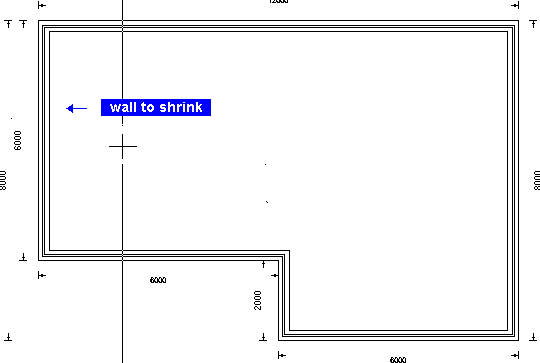
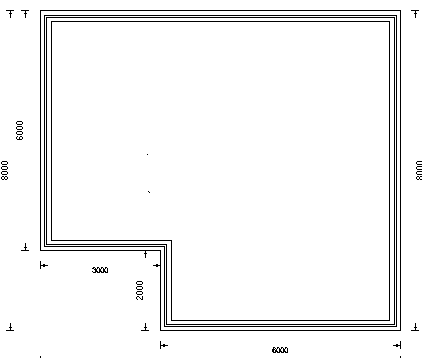
| 2/ shrinks the left side of the floor plan base and adjusts the external dimensions . |  |
|
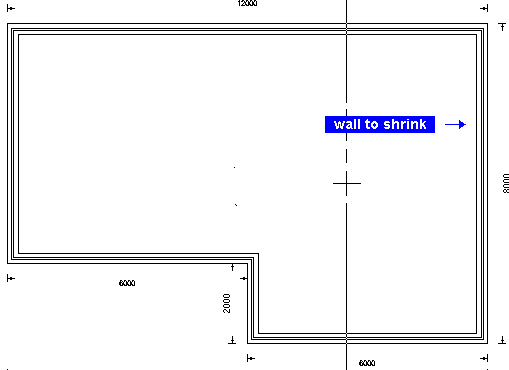
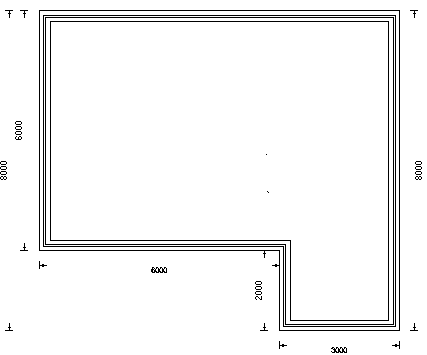
3/ the positioning of the cursor affects how the base is shrunk . |
 |
|
4/ base shrinks from the arrow key direction towards the cursor line position . |
 |
EXPAND BASE
select WALLS & BASE / EXPAND BASE from the menu bar
press arrow in direction to expand base, move cursor (a line will appear
across the drawing) to position to expand from and press enter, then input distance to
expand by.
NOTES
EXPAND or SHRINK BASE
Normal Use
If you have only the external wall base and some design rooms (unfinished),
the line mark can be anywhere within the base, the input box will show the distance
to shrink to the nearest design room
Advanced Use
If you have anything else showing on the floor plan, The base expands/shrinks
from the line position you mark, correct positioning is needed on complex bases,
so that only the part required is changed. Should your mark line pass
through a fixed room, the room will be expanded/shrunk as well as the base, and
you will have to alter the room details manually using
change text or number or manual dimensions
Shrink may be a problem if the line mark is incorrectly placed.
You should not try to shrink to a fixed room, as you would a design room, because
a design room is not finished and will ( when you click DESIGN ROOMS / FINISH ) draw to
suit the surroundings, where as a fixed room is drawn completely already..
Using shrink base the input will show a figure only to the nearest design room
ignoring all other wall types that could affect the shrinking.
HINT
If all that is confusing, just draw a base and put a finished room at either end, and
expand or shrink a few times, try using different positions for the cursor line marking point.
And see how the drawing is affected depending on the line position