
 |
| Previous Top Next |
|
Completing the stylesheet
|
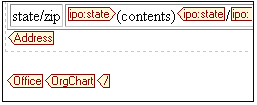
| 1. | Set the text cursor just in front of the Office end tag and hit the Enter key (you can also use the keyboard arrow keys, to move the cursor in the design view).
|
|
| This inserts a space between the end of the table and the end tags, and also creates a paragraph in the IE Preview.
|
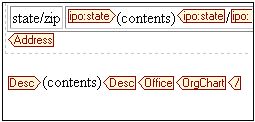
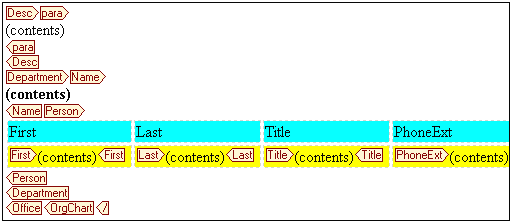
| 2. | Click on the Desc tag in the tree view, drag it to the Design view and drop it in front of the Office end tag.
|
| 3. | Select Create Contents from the popup menu.
|
|
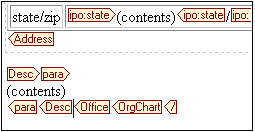
| 4. | Click the Para tag in the tree view (expand the Desc. tag), drag it to the Design view and drop it in front of the Desc end tag. Select Create Paragraph from the popup menu.
|
|
| Please note:
|
| Inserting the para (graph) tag in XSLT Designer, makes it possible to add a new paragraph(s) to the Description text (using the Enter key) in Document Editor. The para start and end tags, are automatically inserted when the Enter key is pressed in Document Editor.
|
| Deleting paragraphs in Document editor is achieved using the Backspace and Del. keys.
|
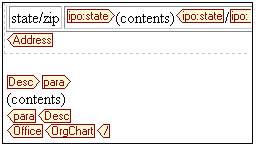
| 5. | Click between the Desc and Office end tags, and hit Enter to insert a paragraph.
|
|
| 6. | Click the IE Preview tab to see the results, and then switch back to the Design view.
|
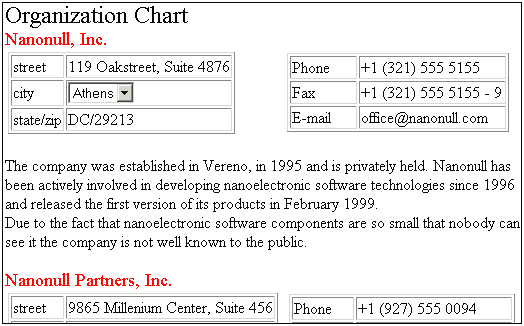
| · | Click the plus icon next to the Department element, to see the sub elements.
|
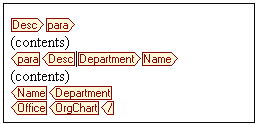
| 1. | Click the Name element (of the Department parent element), drag it to the Design view, and drop it after the Desc end tag.
|
| 2. | Select Create Paragraph from the popup menu that opens automatically.
|
|
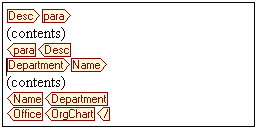
| 3. | Place the text cursor between the Desc end tag and the Department start tag, and hit the Enter key.
|
|
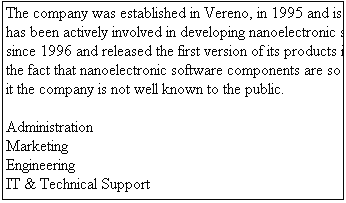
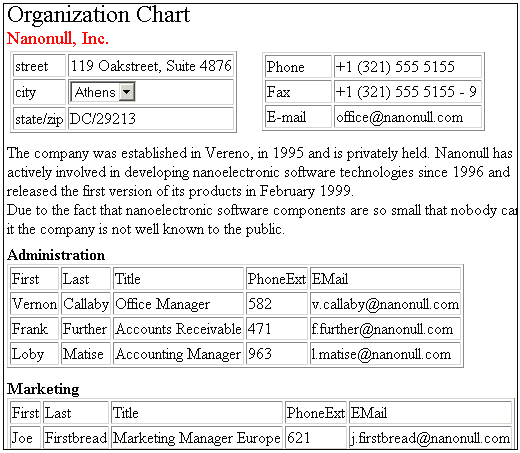
| If you check the IE Preview, you will see that all the department names have been inserted after the company description text.
|
|
| 4. | Click the Department | Name (Contents) placeholder, and select bold from the font-weight combo box in the Text tab of the HTML attributes window.
|
| 5. | Click the (Department) Person element in the tree view, drag it into the Design view and drop it between the Name and Department end tags.
|
| 6. | Select Create Table from the popup menu that opens at this point, and confirm with OK.
|

|
| 7. | Click between the Person and Department end tags, and hit the Enter key.
|
| 8. | Click the IE Preview tab to see the results, and then return to the Design view.
|
|
|
|
|
|
| 1. | Click in the table header and select the menu option Table | Table properties...
|
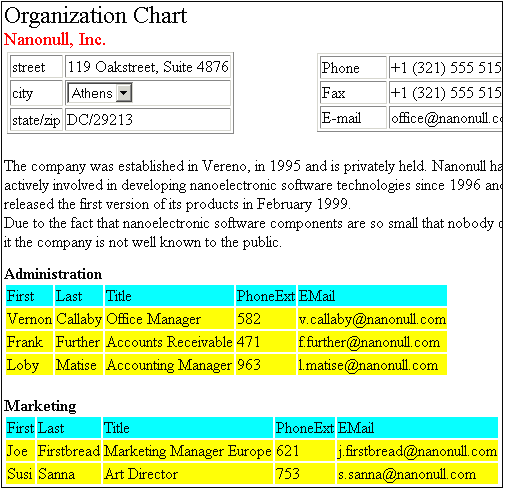
| 2. | Click the Row tab and select aqua from the bgcolor combo box, click on OK to confirm.
|
| 3. | Click in one of the table body cells and use the same method to color the rows yellow.
|
| 4. | Use the same method to change the border combo box entry to 0 (zero), in the Table tab.
|
|
| 5. | Click the IE Preview tab to see the results, and then save your work using the File | Save menu entry.
|
|
| · | Select the menu option File | Save Generated XSLT file...
|
|
|
| The generated XSLT can now be used to create HTML output for your XML files. If you want to edit the XSLT file you can open it in XML Spy at any time.
|
|