 |
| Previous Top Next |
|
Add External Folder to Project...
|
| 1. | Select the menu option Project | Add External Folder to project.
|
| 2. | Select the folder you want to include from the "Browse for Folder" dialog box, and click OK to confirm.
|

|
|
|
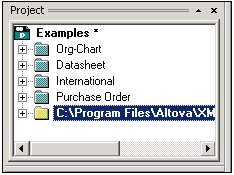
| The selected folder now appears in the project window.
|

|
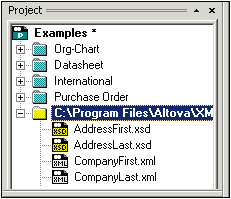
| 3. | Click the plus icon to view the folder contents.
|

|
| 1. | Right click the local folder, and select the popup menu option Properties.
|
| This opens the Properties dialog box.
|

|
| 2. | Click in the File extensions field and enter the file extensions of the file types you want to see. You can separate each file type with a semicolon to define multiple types (XML and Schema XSDs in this example).
|
| 3. | Click OK to confirm the selection.
|

|
| The Project window now only shows the XML and XSD files of the tutorial folder.
|
| 1. | Click the folder and click the "Check well-formedness" or "Validate" icon, (hotkeys F7 or F8).
|
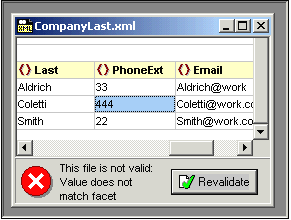
| All the files visible under the folder are checked.
|

|

|
| 2. | Correct the error and restart the process to recheck the rest of the folder.
|
| Please note
|
| You can select discontinuous files in the folder, by holding down CTRL and clicking the files singly. Only these files are then checked when you click F7 or F8.
|
| · | Right click the external folder, and select the popup menu option Refresh external folder.
|
| · | Right click a folder and hit the Del. key, to delete the folder from the Project window. This only deletes the folder from the Project view, and does not delete anything on your hard disk or network.
|
| · | Right clicking a single file and hitting Del. does not delete a file from the Project window. You have to delete it physically and then Refresh the external folder contents.
|
|