Using Windows Volume Control to adjust recording levels
If your video capture device relies on the installed sound card to capture audio, you will need to adjust the recording levels on the sound card through the Volume Control tool in Windows. Double-click on the speaker icon in the notification area of the taskbar, or in Windows XP, launch it through Start > Programs > Accessories > Entertainment > Volume Control. You can also launch it from VirtualDub using the Audio > Windows mixer... menu command.
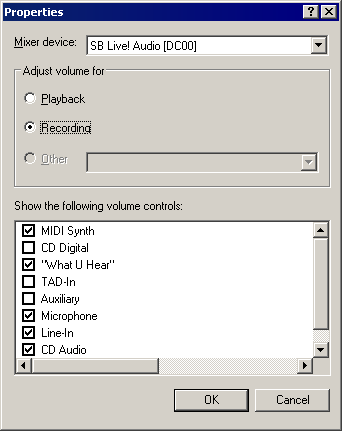
Once Volume Control is open, select Options > Properties from the menu:
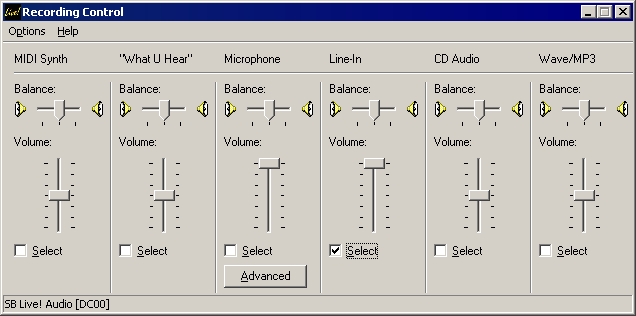
The display on your system will differ slightly. Change the current control set from Playback to Recording, and make sure the appropriate input in checked in the list of controls to show, depending on which sound card input the capture device's audio output is plugged into (usually Line-In or Aux-In).
Check that the correct inputs are selected for recording. If not, first check if it can be changed in VirtualDub using the Audio > Audio input submenu; the Volume Control should automatically update as VirtualDub changes inputs. Otherwise, the correct input should be manually selected. Now use the volume slider for the input to adjust the volume of the captured audio.
Checking levels with the volume meter
To check volume levels, display the volume meter in VirtualDub by selecting Audio > Volume meter from the menu, or press the V key.
The volume meter samples incoming audio from the recording input and displays the current and long-term peaks in blue and red, respectively. It measures sound power in decibels (dB); -6 dB is one-quarter maximum power, or one-half maximum amplitude. Lower peak values mean quieter audio.
Audio should be adjusted so that it is reasonably loud without clipping (bars go all the way to the right end) — once this happens audio is distorted. It is usually safer for the audio to be on the quieter side, although if it is really quiet quality will be lost due to limited precision, even after amplification in post-processing.


