Quick Guide
This guide gives you a short overview on how to use FileZilla. By default you don't have to configure FileZilla, so you can start directly working with the program.
1. Connecting to an FTP server
To connect to an FTP server, enter the address of the server into the host field of the Quickconnect bar. Enter the port of the server into the port field if it is not 21 (default). If a username / password is required, enter it in the corresponding fields. Click on Quickconnect or press Enter to connect to the server.
![]()
2. Navigating on the server
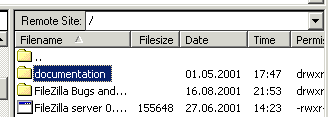
After a successful connection attempt, a list of files and folders appears on the right side of the main window. The current folder is listed in the edit field on the top. You can change the current folder by double-clicking a folder or by entering the folder name into the edit field and pressing enter. You may also right-click the file and folder list and select Open from the context menu to change the current folder. You will notice a folder called ".." displayed in all directories. This folder allows you to go up to the parent directory of the current folder.

3. Navigating on your machine
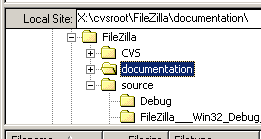
Navigating on your machine works almost like navigating on the server. There's only one addition: The folders on your machine are arranged in a tree for faster navigation. Select a tree item to change to that folder.

4. Transferring files
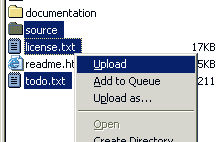
You can upload or download a file by double-clicking on it. It will be added to the transfer queue and the transfer starts automatically. To transfer folders and/or multiple files, select them and right-click the selection. Then you can click on Upload/Download in the popup menu.

You can also drag the files from one side and
drop them on the other side. To add files to the queue so that they will be
transferred later, select them and click Add to Queue from the popup
menu. You may also drag the files directly into the queue. Click on the ![]() button on the toolbar to start the transfer.
button on the toolbar to start the transfer.