 on PhotoFamily Toolbar; or select Print in File menu and Right-Click menu. In Album View and Image View interface, you can click
  on the toolbar to print current image or current Album. In PhotoEdit interface, you can click
  on the Toolbar.
 When you want to print some images in PhotoFamily, you have to enter Page Setup dialog. There are several ways to call out Page Setup dialog: In the Main UI, choose an image or an Album which you want to print, then you can click on PhotoFamily Toolbar; or select Print in File menu and Right-Click menu. In Album View and Image View interface, you can click on the toolbar to print current image or current Album. In PhotoEdit interface, you can click on the Toolbar.
Here is the Page Setup dialog:
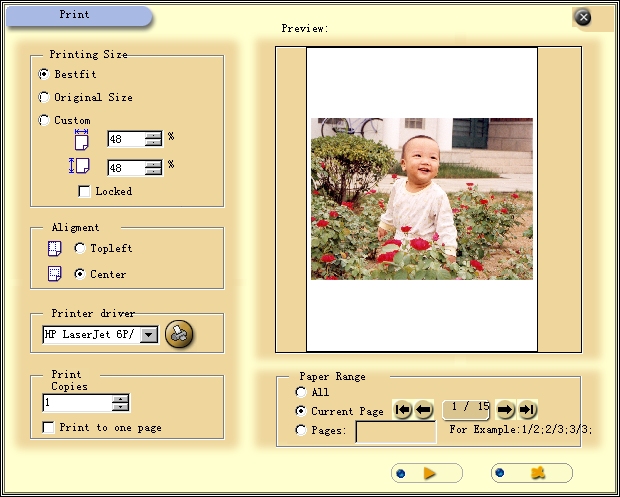
First, you shall decide the Printing Area.
 and Height
  in the below textboxes.
 Then you shall decide the Image Alignment. There are only two choices available: Top Left and Center. You can choose either one to fit your image.
If you have more than one printer, you shall choose a printer to printer the image(s). Select one from Printer Driver pull-down list, and click  to change the printer settings.
After that you should decide how many copies you want to print. If you check Print to One Page checkbox, all the images to be printed will be printed to one sheet of paper in thumbnails, a page can contain as many as 12 thumbnails.
You will can Preview the printing effect in the Preview Window on the right.
If you choose to print a whole Album, Page Range combo box will be enabled. You can choose to print all the images in current Album, or only to print a specific image (use the four buttons 


 to select an image), and you can select to print some of the images by choosing the third radiobox Pages and type : The first page you want to print/the last page you want to print.
When you have done the settings, press  to start printing, press
  to cancel the operation and close the dialog box.