 in the Cover Settings page in Album Properties dialog, you will get:
Album Cover
You can define your own Virtual Album's looks by changing the settings in Album Properties dialog.
Click in the Cover Settings page in Album Properties dialog, you will get:

Here you can set any of the images in the current Album as your Album Cover. In the Index column you can see the index number of every image, and in the Image column you can see the image file names. In the Preview Window on the right, you can preview the selected image.
Click  in the Cover Settings page in Album Properties dialog, you will get:
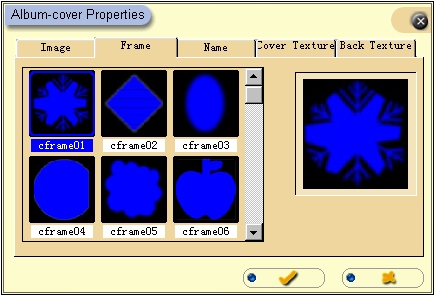
PhotoFamily provides several frames for you to choose in Album Cover layout. You can click to choose a frame and preview the frame effect in the right Preview Window.
Album name will also be shown on the Album cover. To change Album name, you can use Rename command in the right-click menu, or you can click ![]() in the Cover Settings page in Album Properties dialog and get:
in the Cover Settings page in Album Properties dialog and get:

Here you can type in the new Album name, choose font-face and font-size in the pull-down lists, select a font-style (B for Bold, I for Italic, U for Underline) and decide in which color your would like the letters to be.
PhotoFamily provides several Album-cover background patterns for you to choose. Click the upper  in the Cover Settings page in Album Properties dialog, you will get:
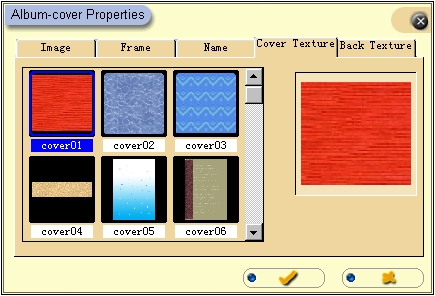
Just click to choose a pattern, and you can preview the background in the Preview Window on the right.
You can also define Album-back background patterns. Click the lower in the Cover Settings page in Album Properties dialog, you will get:
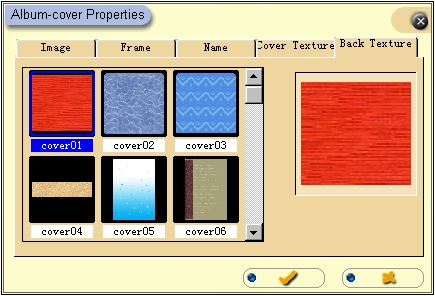
Just click to choose a pattern, and you can preview the background in the Preview Window on the right.
When you have done all the settings in the Album-cover Properties dialog box, click ![]() to save your settings and go back to Album Properties dialog; otherwise click
to save your settings and go back to Album Properties dialog; otherwise click ![]() to abort your settings and go back.
to abort your settings and go back.