Step 1 Close any applications that may be running before starting the installation.
Step 2 Insert the VirtualDrive CD into your CD drive. The Setup program should start automatically. If the “auto-run” function doesn’t work, please run the setup.exe file directly. This file is located in your VirtualDrive application CD.
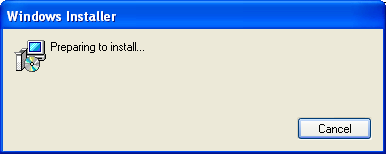
Similarly, if you are installing from a network or hard disk, double click 'setup.exe' to launch the installation program. A installer window will pop up.
![]() Note:
Windows Me、
Windows 2000、Windows
XP come with Windows Installer, so
this program will be not launched for these operating systems.
Note:
Windows Me、
Windows 2000、Windows
XP come with Windows Installer, so
this program will be not launched for these operating systems.
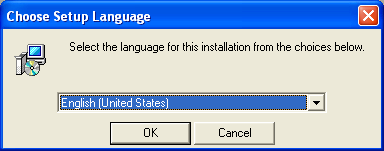
Step 3 From the drop menu, select a language you prefer for the installation, which will guide you through the rest of the setup process.
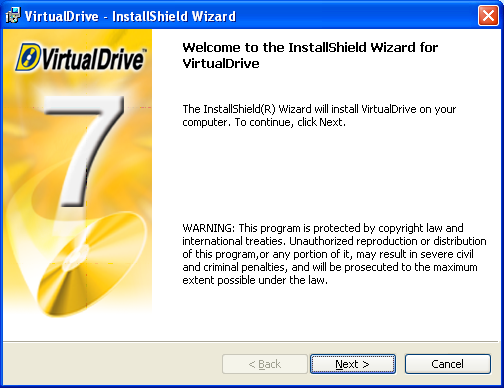
Step 3 After the Windows installation program has configured your system the VirtualDrive installation wizard will be launched. Click on Next to continue.
Step 4 Carefully read the Software License Agreement. If you accept the terms of the agreement then click on the ‘I Accept the License Agreement’ radio box then Next to continue.

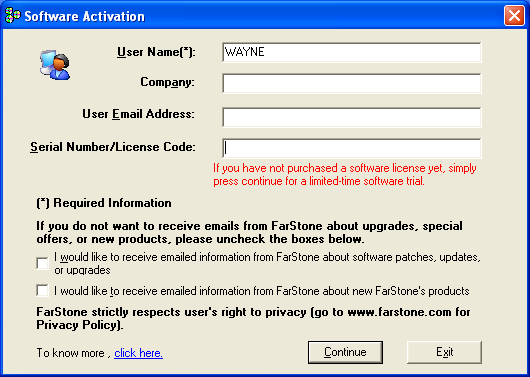
Step 5 Enter your Serial Number. If you have purchased the CD-ROM then, the Serial Number can be found on the back of the CD jewel case.
Step 6 The Install Wizard will suggest a folder to install the VirtualDrive program files. If you would like to store the program files in another location, click on the Change button to open the file browser and select a new folder.

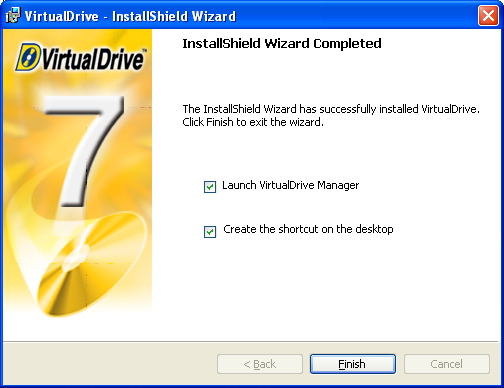
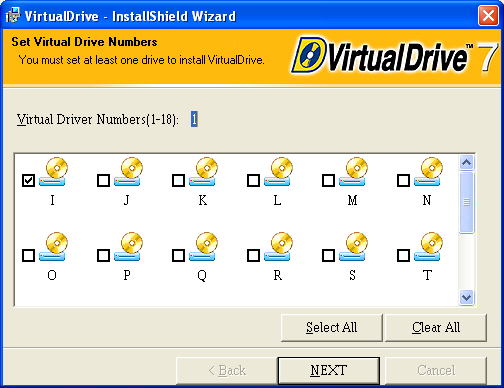
Step 7 Check the box to set the number of virtual drives in the system .You must select at least one drive to install VirtualDrive.
Step 8 Click
on Finish to end the installation of the VirtualDrive program files.