If you are a client of a local network please ask your network administrator to install this protocol on your computer.
Otherwise, choose 'Network' from START/Settings/Control Panel
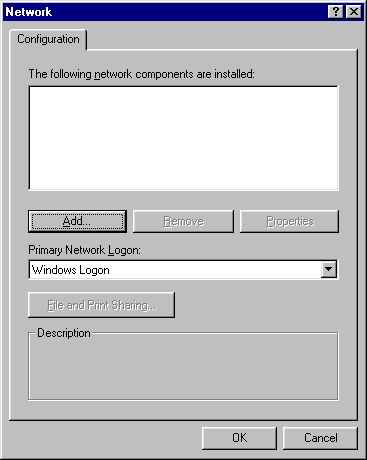
You will get the dialog shown below. The dialog will be empty if no network devices have been previously installed.
Click 'Add...' button. This will bring up 'Select Network Component Type' dialog:

Choose 'Protocol' from the list and click 'Add...'.
In the new dialog 'Select Network Protocol' choose 'Microsoft' and TCP/IP as shown below:

Press 'OK'.
If you have not installed any network devices (modem or network adapter), the following dialog will appear:

Choose 'Microsoft' and 'Dial-Up Adapter' as shown above.
Press 'OK'.
An updated 'Network' dialog will appear as shown below:
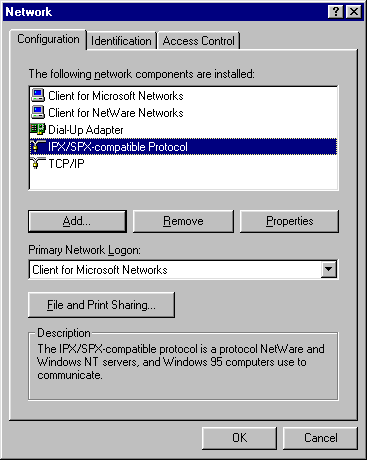
Choose 'IPX/SPX-compatible Protocol' from the list and press 'Remove'.
Choose 'Client for Microsoft Networks' from the list and press 'Remove'.
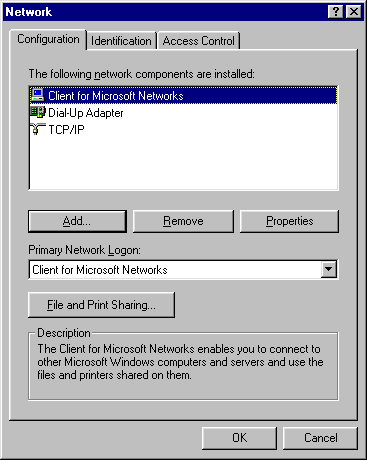
The dialog will look as follows:
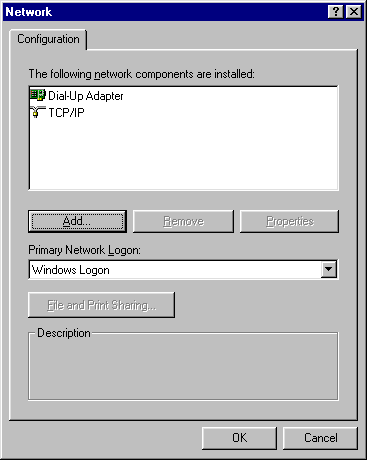
From the drop-down menu 'Primary Network Logon' choose 'Windows Logon' and press 'OK'.
. Insert your Windows installation CD-ROM as prompted and wait until system files are updated.
Restart the machine if required.