This tutorial explains the basics principles
of working with an object that is animated in softimage. The animation
contains a gravity point, used to emulate the influence of movement on
the hairs. The hairs bends back when the object starts to move.
-
Start Softimage
-
Load the scene "tut-2_start" from the "Fur_Tutorial"
database.
-
Start the FurDesigner from the Matter module:
"Mat_Oper/FurDesigner +"
-
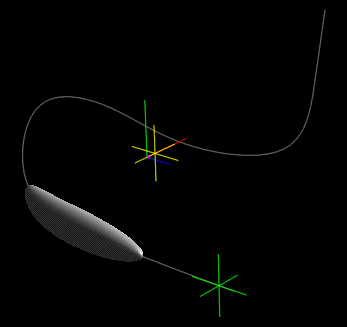
Select the object thing in the object browser.
-
Drag the time slider to see the objects movement
along the path. The time slider is located in the bottom of the menu area.

-
Set the "Number of hairs" slider to 150.
-
Adjust the length of the hairs to 2.0 units.
And add a bit of randomness to the length, by dragging the small slider
to the right of the length slider. The random sliders is scaled from 0
to 1. Set the random value to ~0.33.
-
Add waviness to make the hairs more interesting.
Drag the "Wave" slider to ~0.2.
-
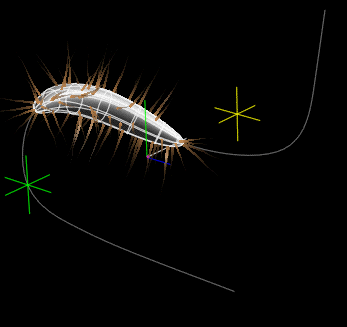
Drag the time slider again and notice that
the hairs are not following the object as it moves along the path. Press
the "Persistent" button located in the right side of the menu area and
draw the time slider again. The Persistent button toggles Persistent rebuild
on and off for the selected objects i.e.. it determinates whether the hairs
are rebuild when the time slider is changed. Only turn on Persistent rebuild
for an object if the object is moving during the animation, as the rebuild
process is very time consuming.

-
The green cross behind the "thing" is a softimage
null object, which can be used as a Gravity point in FurDesigner. Only
nulls who has a name that starts with "Gravity" will be loaded in FurDesigner.
The Scaling of a gravity NULLs x-axis determines the amount of gravity
of this NULL. In this animation the nulls x-axis is scaled from 0.0 to
1.0 over the first 5 frames.
-
The hairs are only attracted to a gravity
point if the Gravity value is grater than 0. set the gravity slider to
~10.
-
Go to frame 1 in the animation, using the
time slider or by entering 1 in the frame input field, located in the lower
right corner of the menu area.
-
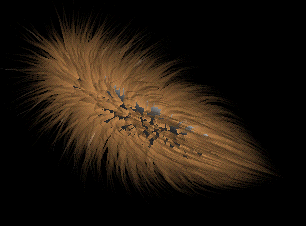
Render the hairs. <Ctrl>+s or use the "Render
selection" button.
-
Go to frame 5 and render again. The difference
in the to objects is coursed by the gravity.


-
Change the colors of the hairs to red, by
dragging the color sliders.
-
The RGB and HLS sliders adjusts the color
of the hair, at the ColorKey that is selected on the color strip. The selected
keys is marked in bright red. The A slider adjusts the opasity (alpha value)
of the hair.

-
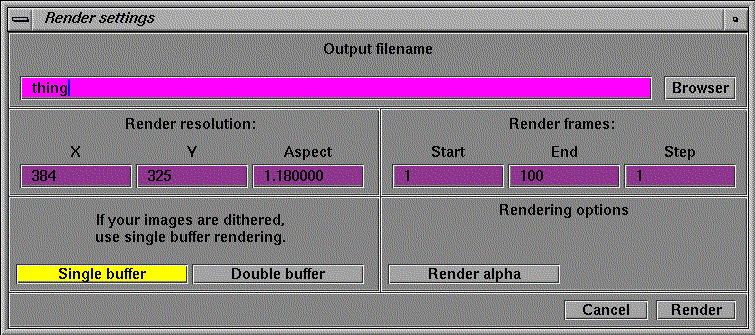
Render the animation. Click on the "Render"
button to bring up the Render settings dialog box.
-
Fill in the output filename or use the browser.
-
Change the resolution if needed.
-
Press Render.

-
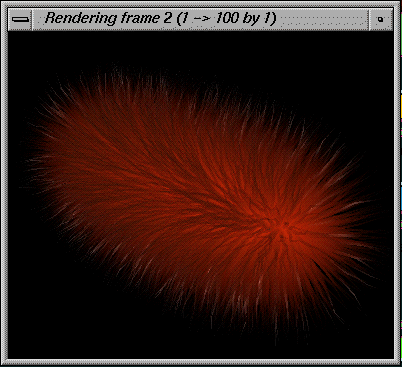
A window is opened, showing the currently
rendered picture. The rendered pictures are stored as output_filename.frame_nr.pic.

-
EXIT the Fur program.
-
Use the Save+Exit key to save fur setup. All
the fur definitions are saved in the softimage scene, and the next time
the Fur program is started with same scene, the data is automatically loaded.
You have to save the scene in Softimage|3D to save the fur styling.
-
View the animation using the Softimage flipbook
utility from the shell command prompt.
