This tutorial covers mapping and the basic
use of the Fur program interface.
-
Start Softimage
-
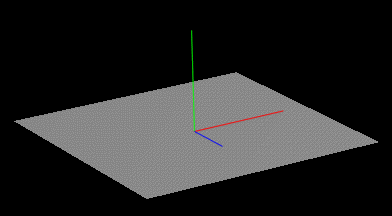
Create a patch linear grid, with a cell count
of 5 in U and V
-
Start the FurDesigner from the Matter module:
Mat_Oper/FurDesigner
-
Select the object grid? in the object browser.
-
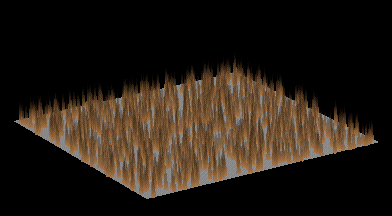
Set number of hairs slider to app 40 using
the left mouse button. This gives the object 40 hairs per square softimage-unit.
-
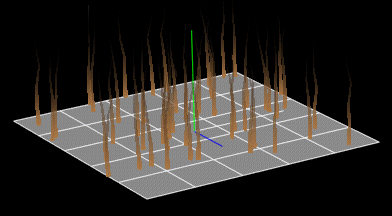
Notice that not all the hairs are displayed.
To get faster response from the program only a fraction of the total number
of hairs are displayed during normal interaction. The Preview Res. slider
sets this fraction. The setting of the Preview Res. slider has no effect
on the final rendered image.
-
Press the Render Selection button, to see
the object with all the hairs.
-
Adjust the length of the hairs to 2.0 units.
Use the middle mouse button to drag the slider to 1.0, notice that the
graphics updates only when the mouse button is released. To expand the
range of the length slider click on the length slider using the right mouse
button, keep the button down and drag the slider to the left and release.
Now the range of the slider is changed and the length can be set to app.
2.0. Alternatively write 2.0 in the input box next to the length slider.
-
To make the fur look more alive add
some waviness. Drag the wave slider to 0.25.
-
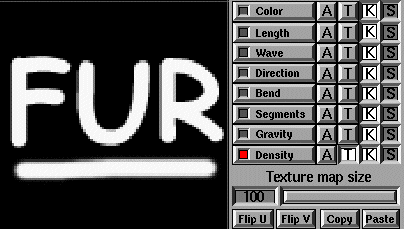
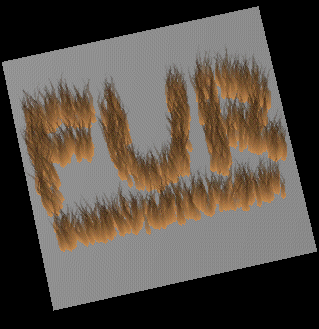
A density map can be used to limit the growth
of hairs to specific areas of the patch. Click on the T button to the right
of the Density button. In the file selector go to the directory Fur_Tutorial/PICTURES
and select the picture fur.pic.
-
Select the Density button to show the picture
in the key map area. Now the growth of hairs is limited to the areas
where the image is white.
-
Texture maps in FurDesigner are mapped on
the surface similar to the Softimage UV mapping.
-
Increase the number of hairs to better see
the effect of the mapping. Set number of hairs to ~200.
-
Change the perspective to view the grid more
from the top, so it is easier to see the letters. With the cursor in the
graphics window, press leftmouse button and the 'o' key simultaniously
and orbit the Softimage style.
-
Press the Render selection button or use the
<Ctrl>+s shortcut.
-
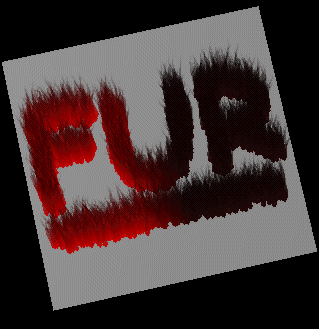
Add a color map to to the Diffuse Color channel,
to color the hairs across the patch. Click on the T button to the right
of the Color button, make sure that the Diffuse button is pressed. In the
file selector go to the directory Fur_Tutorial/PICTURES and select the
picture redfade.pic.
-
Select the color button to show the picture,
now mapped on the Diffuse Color channel.
-
In the last picture the fur coverage was a
bit thin so further increese the number of hairs to app. 500 (select the
value box next to the length slider and type 500) and render again.
-
Experiment with more mapping features and
EXIT FurDesigner, remember to choose save+exit so the Fur data is
saved back to the Softimage scene.