Load step2.gmax unless you want to continue where you left off in the previous lesson.
Change to a Top viewport.

 On the Create panel > Geometry > Standard Primitives > Object Type rollout, turn on Cylinder.
In the top viewport create a cylinder with these settings:
-
Radius=9
-
Height=130
-
Height Segments=3
-
Sides=10
Right-click the cylinder and choose Convert To > Convert to Editable Poly.
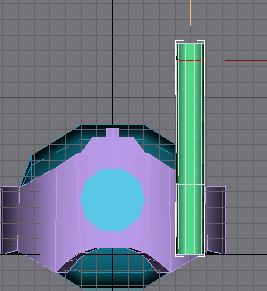
 Change to a Front view. On the status bar, change to Window Selection.
 Click Edge to turn it on.
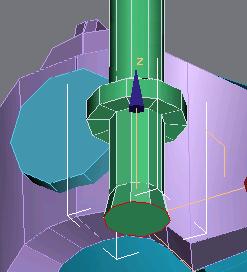
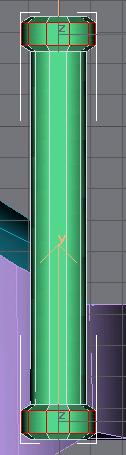
Region-select the edges in the upper middle part of the cylinder and move them up. See the illustration.
To region-select, drag a window around the edges to select them.
Edges to move are red.
Region-select the edges in the lower middle part of the cylinder and move them down.
Edges in the illustration show their position after the move.
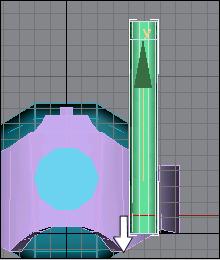
Edges to move are red.
 Click Polygon to turn it on.
 On the status bar, turn on Crossing Selection.
This way you can select polygons that are partially inside the selection window.
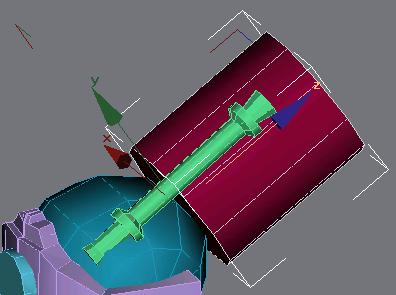
Region-select the rings of polygons at the top of the cylinder. Press the CTRL key and add the ring of polygons at the bottom of the cylinder to the selection. DonÆt select the middle polygons.
On the Edit Geometry rollout, turn on Bevel and Local Normal.
To create the bevel for both sets of polygons, drag the selected polygons in the viewport, then release the mouse button, and move the mouse to create the bevel. Click to finish.
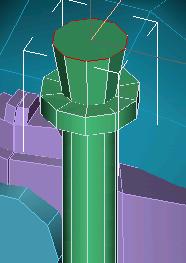
 On the toolbar, click Select and Uniform Scale and scale up the bottom polygon.